With today’s fast pace of technology advancement, there should be regular updates on software and hardware. This is important to keep up with the rapid changes. There are times when an item you bought just last month becomes passe this month. This can be disheartening for any consumer.
What’s worse, after buying a new unit, you’d find out there is no available technical support for it. This becomes very inconvenient when problems arise. There is really a need for continuing updates on your software so you can keep up with current trends.
Kodi is a case in point. When you purchase your Android TV box, the latest version of Kodi is already installed. This is true for most Android TV Boxes. But this application on a regular basis comes up with new updates. For one who wants to benefit most with Kodi, updating the app would become a priority.
Luckily, updating Kodi is much easier on an Android TV Box than on other TV boxes. This is because Kodi is part of the Android’s Google Play Store making Kodi updates easy as pie. Usually, boxes with other operating systems do not include Kodi in their app store.
Before we go into updating Kodi, let’s first discuss your Tv box’s firmware. This is another part of the device which needs regular updating.
Updating the firmware
For all Android TV Boxes, firmware updates are the same. But it’s recommended to do some research work on your specific box model. Do this before making any updates just to be sure you follow the right procedures. For most Android TV box models, these are the basic steps when updating:
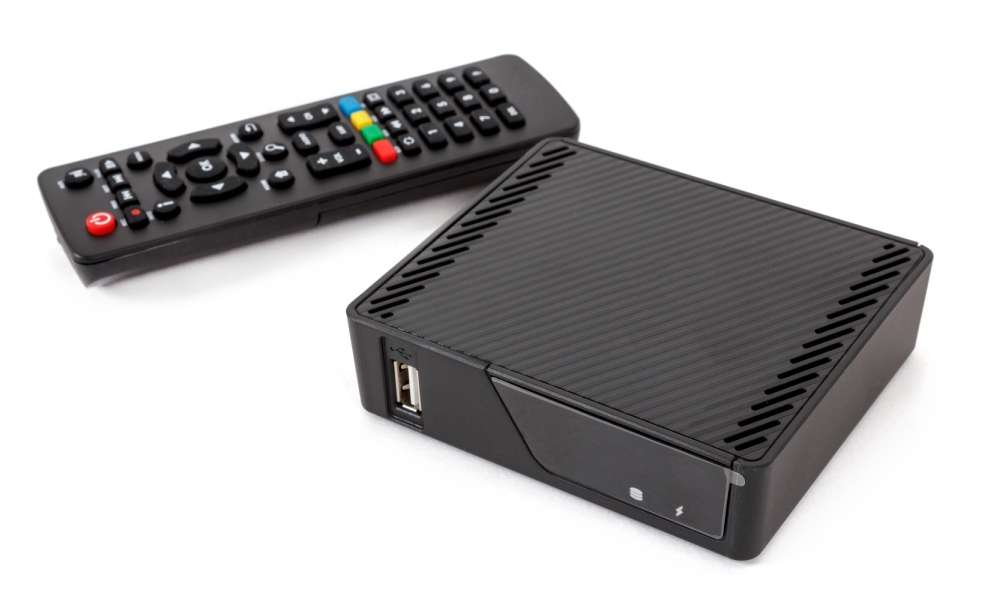
- Download the new firmware into the root directory of a USB drive.
- Plug the USB drive into an empty USB port on your TV Box.
- Go to the Settings, then System, then System Upgrade. Select the USB Drive.
- The TV Box will then start the update of the firmware from the USB Drive.
- Wait until the upgrade is complete. This should take a couple of minutes.
- When the firmware finishes updating, the TV Box will auto-reboot.
It’s important not to re-install previous firmware. Don’t do this when your device has updated to the latest version.
Updating Kodi
There is always a need to update your Kodi to its latest version. This is because the application is being updated on a frequent basis. Doing this would ensure the user the best benefits offered by this application. Here are some simple steps to follow when updating your Kodi app:
- First off, you need to have a Google account. Register for one if you don’t have it. It is free.
- Launch the Google Play Store on your Android TV Box.
- Log into your Google account with the credentials you supplied when you registered.
- There may be a prompt which asks for information on payment options. There’s no need to panic, just click “Remind Me Later.” Kodi is free so there is no payment needed.
- After logging in, you’ll see the home screen of the Google Play Store.
- There are three horizontal lines on the top right corner of the screen. Click on this then click “My Apps.”
- A list of your applications will appear. If Kodi is not up-to-date, it will be part of the list.
- If you opt to update all your applications at once, just click the “Update All” button. If you would prefer to update only Kodi, click the Kodi app on the list. This will show a screen specifically for Kodi. Click the “Update” button on that screen.
- After the update on Kodi has completed, launch Kodi. Do this to ensure it has been successfully updated on your Android TV Box.
Another way to update Kodi
Sometimes you may be encountering problems updating Kodi from your Google Play Store. No need to worry though, there’s another way to do it. Here is an easy way to circumvent this problem:
- Make a backup of your Kodi add-ons. If out-of-date, your add-ons may require updates before re-installation. Once downloaded, copy the zip file to a USB drive. Go through the entire process so you can gain familiarity with it.
- Open the Kodi application and go to programs.
- Select program “Add-ons”.
- If USB-SDCARD Wizard is not on the screen, select “get more.” Keep searching until you see the USB-SDCARD Wizard.
- Select and enable USB-SDCARD Wizard. A “Configure” box will pop up and here, select “Configure.”
- Insert a USB or SD Card. Click on “Choose USB/SD Card Destination.”
- Select the destination drive. Click “OK”, then “OK” again. Make sure that you select the USB drive and NOT a folder inside the USB drive. Failure to select the correct USB drive will result in a “no valid path” error.
- Go back to the pop-screen and select “Open.”
- Select Backup. If you only want to save your backups, select “Backup just your Add-ons”.
- Wait until complete. Once done, launch Kodi to see if it’s already up-to-date.
If error messages occur along the lines of “USB-SD Card Wizard errors — check logs”, change the backup location from the USB to the local hard drive of the box. Once saved on the local hard drive, go to the Android File Manager and copy the saved files to the USB.
Check these things before updating Kodi
Most Android TV Boxes don’t have problems updating the Kodi application. As long as the software and hardware can support it, the update will go through smoothly. But there are some boxes that may have firmware that could block an install. Check the following before updating your Kodi application:
- Does it have a hard/soft reset option? Most boxes have defaults set by the factory. You need to know the defaults in case there is a problem with an installation.
- Upgrading from an older version of Kodi. The Kodi support page recommends only updating from 16 Jarvis. Older installs have to update to Jarvis first. Doing clean installs is possible but doing so will erase all settings.
- The operating system must be Android 5.0 Lollipop or higher. Be sure to have at least the Android 5.0 otherwise Kodi you cannot update to the latest version of Kodi.
Favorite TV Boxes